
You already know that our Zapier integration offers some incredibly useful workflow enhancements, like being able to add subscribers in MailChimp from new form submissions, and saving your entries as custom documents in Google Drive. But did you know that you can also set a trigger to update entry information in programs like Google Sheets whenever you edit your entries?
What’s a trigger, anyway?
Before you can update entries, it is necessary to first set up a Zap that creates new rows in Google Sheets whenever a new entry is submitted in Cognito Forms.
Zapier, a tool designed to connect different web applications, works through a simple series of actions and triggers. So, if you set “Update Entry” as your trigger in Cognito Forms, and “Update Spreadsheet Row” as the Action in Google Sheets, it will create a connection between the two applications called a Zap. And here’s the best part: it works automatically. So, once you set up your Zap, there’s no more tedious work required on your part to keep your Google Sheet updated.
Cognito Forms has several pre-created Zaps that you can use, available from our Zapbook page:
Step 1: Setting the trigger
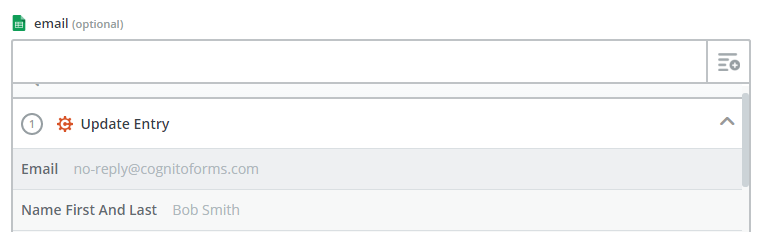
To begin making our Zap, we need to set our trigger:
- Choose Cognito Forms as the Trigger App.
- Choose Update Entry as the Trigger.
- Select your Cognito Forms account.
- Select your form and test it to ensure that it’s connected:
Step 2: Lookup Spreadsheet Row
To set the action that occurs in Google Sheets:
Choose Google Sheets as the Action App.
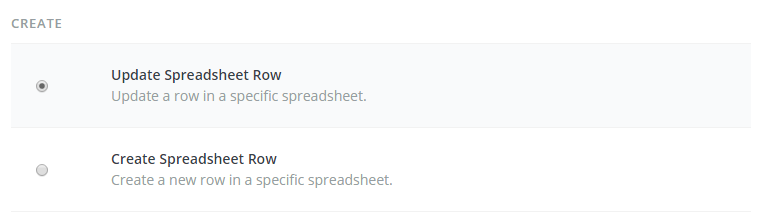
Choose Update Spreadsheet Row as the Action.
Select your Google Sheets Account, Spreadsheet, and Worksheet.
Add a Search Step. This step is used to identify the field in Cognito Forms and the column in the Google Sheet that will be used as identifiers. If you do not already have a unique field/column that can be used as an identifier, add a column called Entry Number in your Google Sheet and connect it to the corresponding Entry Number in Cognito Forms.
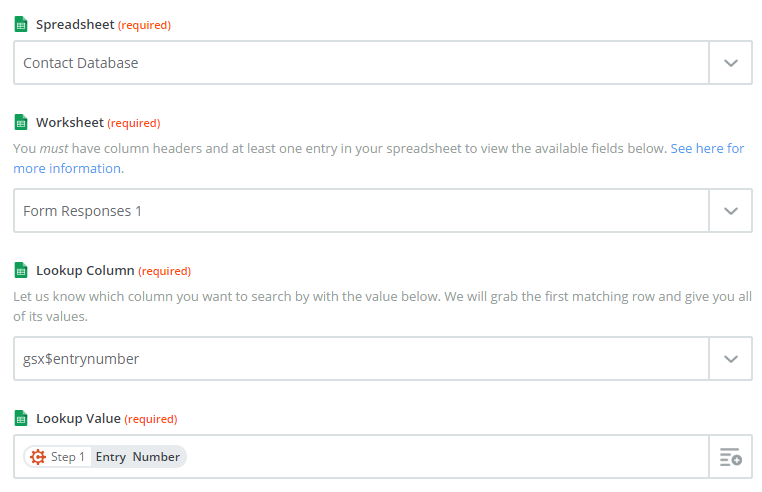
- Select your Spreadsheet.
- Select your Worksheet.
- Select your Lookup Column (Entry Number column in your spreadsheet). Select your Lookup Value (Entry Number field in your Cognito Form).
- If you do not have row in your Google Sheet with an entry number of “1”, this step will fail. However, this step is not required and is only used to verify your configuration. You can click on the “Skip Test & Continue” link to bypass this verification step.
Adding your lookup value will add a third action to your zap. As before, choose Google Sheets as the Action App and Update Spreadsheet Row as the Action. After selecting your Google Sheets Account, Spreadsheet, and Worksheet, make sure that Row ID from Step 2 is set (it should be set already by default).
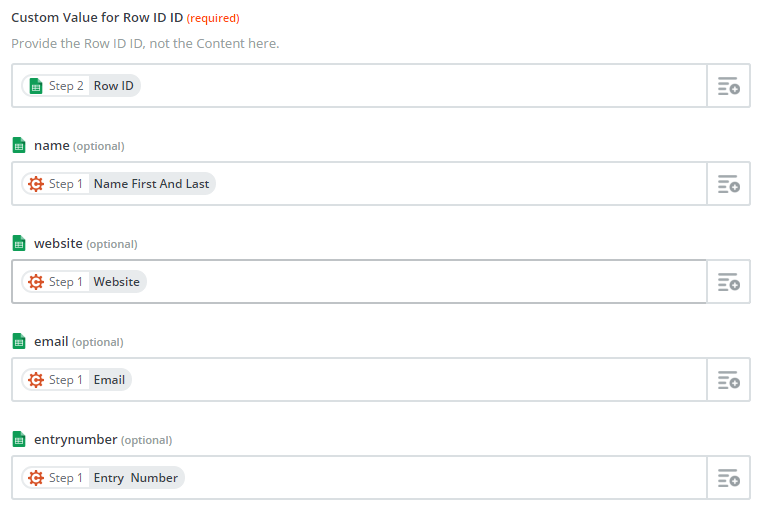
Map your columns by selecting each corresponding field from your Cognito Form (Step 1).
Once again, if you do not have a row in your Google Sheet with an entry number 1, then you’ll need to skip the test step by clicking the Skip Test & Continue link to bypass this verification step.
Step 3: Test your Zap
Now, when you update an entry from your Cognito Forms account, your Google Sheet will update instantly:

Have any questions about our Zapier integration? Feel free to contact us and we’d be happy to help!

Nadia A.
Nadia, the Technical Writer for Cognito Forms, develops documentation, support content, and how-to videos. No matter your experience – with her help, you'll be able to take full advantage of the product. In her spare time, Nadia enjoys listening to French house, drinking coffee, and talking about herself in third person.