Document merging gives you the freedom to completely customize the documents generated from your form entries. With the ability to edit your document templates directly in Microsoft Word, you can take advantage of all the handy features that the program has to offer; like creating cover pages, adding initial fields, and editing the header/footer of your generated documents.
Step 1: Create your template
Before you even download your template, there are several different ways that you can tweak it. From the Manage Document Templates dialog (accessible from multiple places in the builder and on the Entries page), you can:
Edit the file name - Insert a field (such as Name or Entry Number) to personalize the file name that your users see when they download their document.

Edit the description - Write a short description that will help differentiate all the templates on your list (you can create an unlimited amount of document templates!)

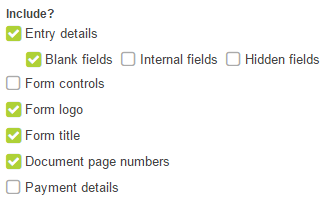
Include details - Tick each box to include specific details in your template (such as Entry Details, Logo, Title, and page numbers). If you want your template to appear with radiobuttons/checkboxes/textboxes just as your form does, select the Form Controls option.
Step 2: Insert a cover page
After you click the blue Customize button at the bottom of the Manage Documents dialog, you can download your template and open it up in Word. To start, add a professional cover page that will appear at the beginning of your document:
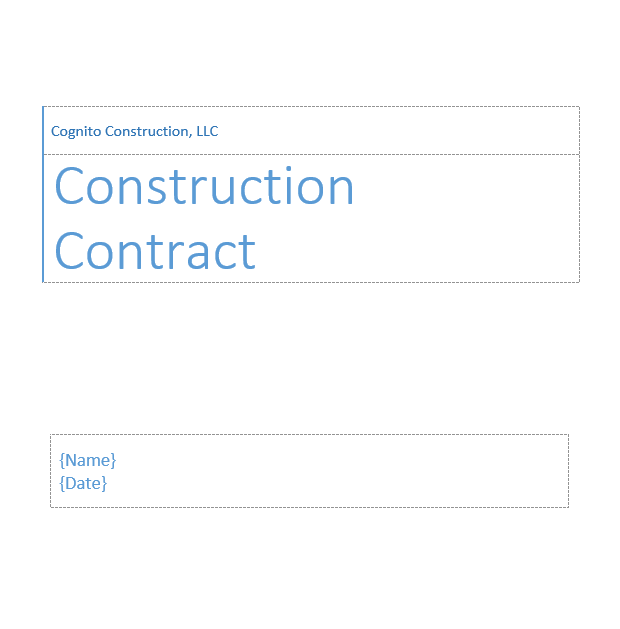
- Click the Insert tab from the main menu, and then select Cover Page. Here, you’ll have several pre-made options to choose from (which you can edit to your liking).

- Similar to how we included field tokens in our file name, we can also insert field tokens in between curly brackets (such as {Name} and {Date}) to pull entry data onto the cover page:
Step 3: Display content in the header & footer
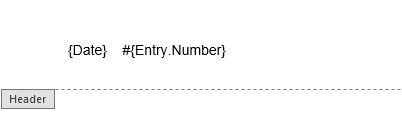
Just as any other part of your document, you can insert field tokens into the header and footer as well:
For example, you can add the date and the entry number (the unique number generated when a form entry is submitted):
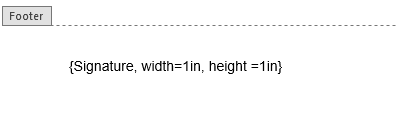
Or, add a signature field with custom dimensions in the footer (check out our blog post to learn more about formatting signatures on your documents):
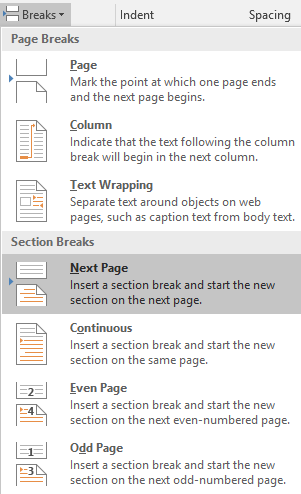
- You may also want to display different content in the header and footer depending on the page. To do this, click the Layout tab and find the Breaks option. When you select Next Page from the list, the content below your cursor will automatically shift into a new section. You can then put entirely different content in the Section 2 header and footer.
Have any questions about document merging, or Cognito Forms in general? Feel free to get in touch with us!

Nadia A.
Nadia, the Technical Writer for Cognito Forms, develops documentation, support content, and how-to videos. No matter your experience – with her help, you'll be able to take full advantage of the product. In her spare time, Nadia enjoys listening to French house, drinking coffee, and talking about herself in third person.